
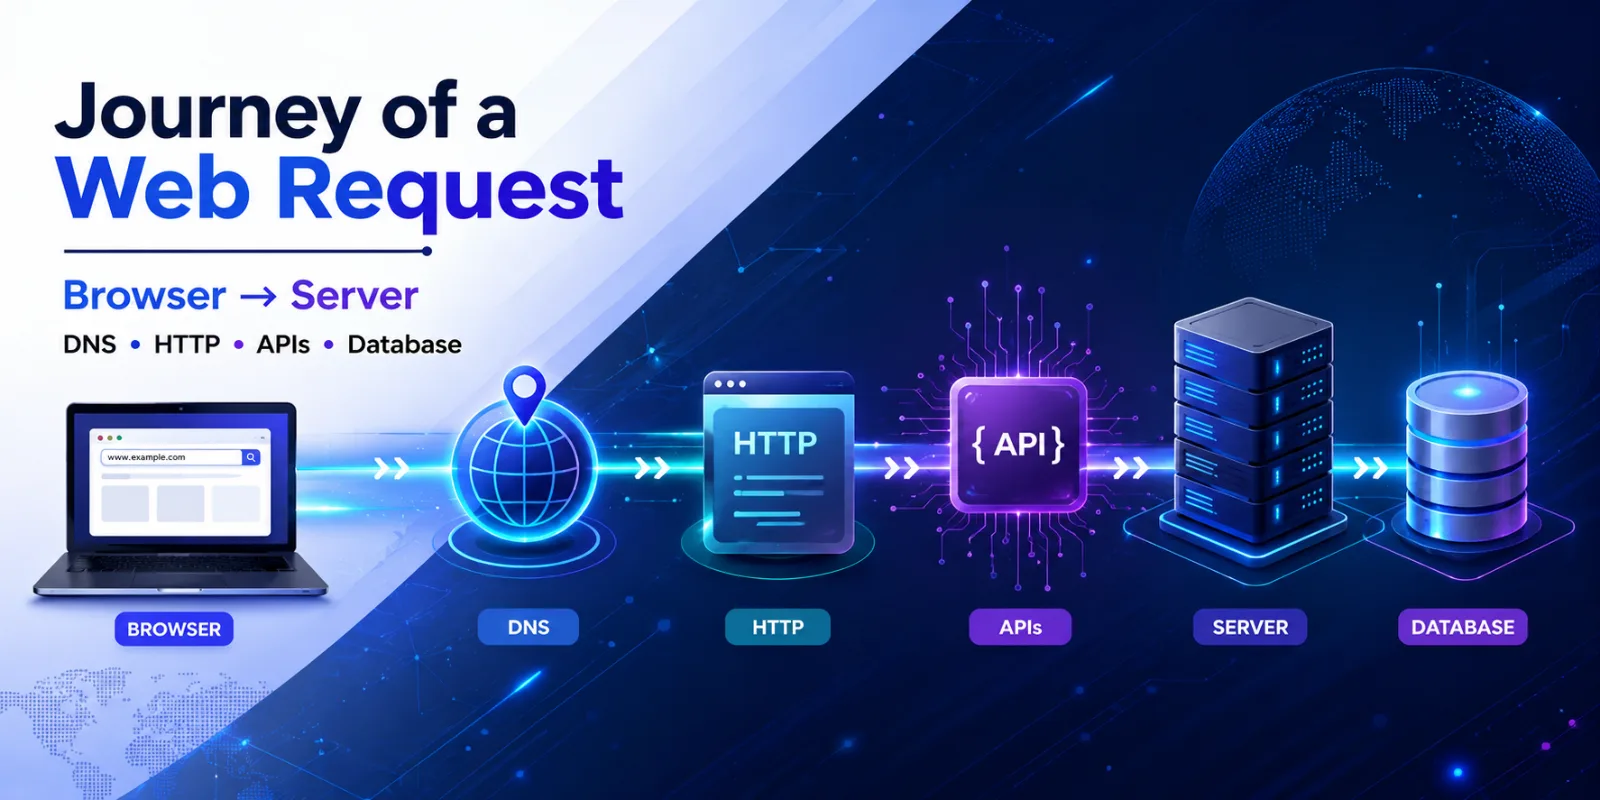
Discover what happens behind the scenes when you type a website URL into your browser. Learn how browsers, DNS, servers, APIs, databases, CDNs, and modern web technologies work together to deliver webpages in milliseconds.
Have you ever wondered what actually happens when you type a website address into your browser and press Enter?
Most people assume the webpage appears instantly. In reality, dozens of technologies work together within milliseconds to deliver that page to your screen. Every click triggers a complex sequence of events involving your browser, DNS servers, internet infrastructure, CDNs, load balancers, web servers, application servers, databases, caching systems, and rendering engines.
Understanding this request-response lifecycle is one of the most important concepts in modern web development. Whether you're building a simple portfolio website, an eCommerce platform, or an enterprise SaaS application, knowing how requests travel across the internet helps you build faster, more secure, and more scalable applications.
In this guide, we'll follow a single web request from the moment a user enters a URL until the fully rendered webpage appears in the browser.
Everything begins when a user types a website address into the browser.
For example:
https://www.example.com/blog
Although this looks like a simple web address, it contains several important components.
Each component helps the browser determine where to send the request and what specific resource the user wants to access.
Before doing anything else, the browser validates the URL to ensure it follows the correct format.
Before contacting the internet, the browser checks whether it already has a copy of the requested resources stored locally.
Modern browsers cache many assets, including:
If a valid cached version exists, the browser can display the page immediately without making another request to the server.
This is one reason why websites usually load much faster on your second visit.
Caching not only improves user experience but also reduces bandwidth usage and lowers server load.
Computers don't understand domain names like:
example.com
Instead, they communicate using IP addresses such as:
192.168.x.x
To find the correct server, the browser performs a DNS (Domain Name System) lookup.
The lookup process follows these steps:
Once the browser receives the correct IP address, it knows exactly where to send the request.
Think of DNS as the internet's phonebook—it translates human-friendly names into machine-readable addresses.
Now that the browser knows the server's IP address, it establishes a connection using the Transmission Control Protocol (TCP).
Before any data is transferred, the browser and server perform the famous TCP Three-Way Handshake.
Client  →  SYN

Server  →  SYN-ACK

Client  →  ACK
This handshake ensures both systems are ready to communicate reliably.
Without TCP, data packets could arrive out of order, be duplicated, or become corrupted during transmission.
Most modern websites use HTTPS, which encrypts communication between the browser and server.
Before sending sensitive information, the browser performs a TLS (Transport Layer Security) Handshake.
During this process:
Once completed, all transmitted data is encrypted, protecting it from interception or modification.
This is why modern browsers display the padlock icon for secure websites.
With a secure connection established, the browser finally sends an HTTP request.
Example:
GET /blog HTTP/1.1
Host: example.com
User-Agent: Chrome
Accept: text/html
An HTTP request typically contains:
The server uses this information to determine exactly what resource the browser is requesting.
Many modern websites use a Content Delivery Network (CDN) to improve speed and reduce latency.
Instead of sending every request directly to the origin server, the request first reaches the nearest CDN edge location.
The CDN checks whether it already has a cached copy of the requested resource.
Browser
      ↓
CDN
      ↓
Cached Response
If the resource is available, the CDN responds immediately without contacting the origin server.
Benefits of using a CDN include:
This is why websites using CDNs often load much faster, especially for users located far from the main server.
Large websites rarely rely on a single server.
Instead, incoming traffic is distributed across multiple servers using a Load Balancer.
Example:
1,000 Users
      ↓
Load Balancer
      ↓
Server A
Server B
Server C
The load balancer intelligently routes requests based on:
This improves both performance and reliability by preventing any single server from becoming overloaded.
Before reaching the application, requests often pass through a Reverse Proxy, such as Nginx or HAProxy.
A reverse proxy performs several important functions:
Instead of exposing application servers directly to the internet, reverse proxies provide an additional layer of security and performance optimization.
The request now reaches the web server.
Common web servers include:
The web server decides how to handle the request.
If it's a static resource like an image or CSS file, it returns the file immediately.
If it's a dynamic request, it forwards the request to the application server for further processing.
This separation improves performance by allowing the web server to efficiently serve static assets while the application focuses on business logic.
The application server is the brain of the system.
Popular application frameworks include:
This is where your application's business logic lives.
Typical tasks include:
Every feature users interact with—whether placing an order, sending a message, or updating a profile—is handled here.
If the requested page requires authentication, the application verifies the user's identity before continuing.
Authentication methods commonly include:
If authentication fails, the server responds with:
401 Unauthorized
If successful, the application continues processing the request and grants access to the requested resource.
Authentication is one of the most critical steps in modern web applications because it protects sensitive user data and ensures only authorized users can access protected resources.
After authentication and request validation, the application often needs to retrieve or store data. This is where the database becomes an essential part of the request lifecycle.
Almost every modern web application relies on a database to manage information such as:
For example, when a customer opens their profile page, the application may execute a query like:
SELECT *
FROM users
WHERE id = 15;
The database searches for the requested record and returns the result to the application server.
Popular databases include:
Choosing the right database depends on the application's requirements, scalability goals, and data structure.
Modern applications rarely access the database directly for every request.
Instead, they first check a high-speed caching layer.
Popular cache technologies include:
The request flow becomes:
Browser
      ↓
Application
      ↓
Redis Cache
      ↓
Database (Only if needed)
If the requested data is already stored in the cache, it is returned immediately.
This dramatically reduces:
Caching is one of the most effective techniques for improving website performance.
Once the application has all the required data, it begins executing business logic.
Business logic is the unique functionality that makes every application different.
Examples include:
For example, an eCommerce application may:
Only after these operations are completed does the application prepare a response.
Once processing is complete, the application generates a response.
Depending on the request, the response may contain:
Example JSON response:
{
  "name": "John Doe",
  "country": "India",
  "subscription": "Premium"
}
REST APIs generally return JSON because it is lightweight and easy for applications to process.
Before sending data across the internet, servers compress the response.
Common compression methods include:
Compression reduces the file size significantly.
Example:
Original HTML
850 KB
Compressed HTML
170 KB
Smaller responses travel faster across the network, improving page load speed.
The browser finally receives the server response.
However, it doesn't immediately display the webpage.
Instead, it starts processing:
This process is known as browser rendering.
The browser first converts HTML into a Document Object Model (DOM).
HTML
   ↓
DOM Tree
The DOM is a structured representation of every element on the webpage.
For example:
<h1>Hello World</h1>
becomes
Document
   ↓
HTML
   ↓
Body
   ↓
H1
JavaScript later interacts with this DOM to update page content dynamically.
The browser scans the HTML for CSS files.
Example:
<link rel="stylesheet" href="style.css">
It downloads every stylesheet before painting the page.
CSS controls:
Without CSS, every website would appear as plain black text.
After processing HTML and CSS, the browser executes JavaScript.
JavaScript enables modern web experiences by allowing websites to:
Frameworks such as React, Vue, Angular, and Next.js rely heavily on JavaScript to build interactive applications.
The browser now calculates the exact position of every visual element.
It determines:
This stage is called the Layout or Reflow phase.
Efficient layouts improve performance, while frequent layout recalculations can slow down websites.
Finally, the browser paints every element onto the user's screen.
This process includes:
Within just a few hundred milliseconds, the webpage becomes fully visible.
What feels instantaneous to users is actually the result of dozens of coordinated operations across browsers, networks, servers, databases, and rendering engines.
A slow website often results from one or more bottlenecks.
Common causes include:
Identifying and resolving these bottlenecks can dramatically improve website performance and user experience.
Developers can optimize websites by following these best practices:
These optimizations improve loading speed, SEO performance, and user satisfaction.
Understanding the lifecycle of a web request provides valuable insight into how modern web applications work.
Developers who understand this process can:
Whether you're creating a personal blog, an eCommerce platform, or an enterprise SaaS product, understanding the request-response cycle is a fundamental web development skill.
Every time you open a website, an incredible sequence of events takes place behind the scenes. From DNS resolution and secure TLS handshakes to load balancers, reverse proxies, application servers, databases, caching systems, and browser rendering, dozens of technologies work together to deliver content in milliseconds.
Understanding the journey of a web request not only makes you a better developer but also helps you build faster, more secure, and highly scalable applications. As web technologies continue to evolve, mastering these core concepts will remain one of the most valuable skills for every frontend, backend, and full-stack developer.
A web request is the process of sending a request from a browser to a web server to retrieve webpages, APIs, images, or other online resources.
DNS converts human-readable domain names into IP addresses so browsers can locate web servers.
HTTPS encrypts communication between the browser and server using TLS, while HTTP sends data without encryption.
CDNs cache website assets closer to users, reducing latency and improving loading speed.
Caching stores frequently requested resources so they can be served faster without repeatedly contacting the origin server.